End of Summer 2026: The Checklist for Switching Your Reversible Air Conditioner to Heating Mode

L'équipe Proclimo
17 Aug 2026 - 08 min read
The summer of 2026 will go down in installers' memories as one of the busiest seasons in a decade. Weeks on end of near-continuous operation, outdoor units exposed to 40 °C in the shade, filters clogged first with pollen and then with dry dust: French reversible air conditioners are coming out of this period in a very different state from the one they were in back in May.
And that is precisely where the quality of your winter is decided. An air-to-air heat pump that has not been prepared for the seasonal switchover consumes more, defrosts more often, blows less pleasant air and eventually breaks down at the worst possible moment — namely during the first real cold snap, when refrigeration engineers' diaries are already full for three weeks ahead. Late August and September are the ideal window for taking action: temperatures are still mild, the unit is no longer being asked to cool, and it is not yet being asked to heat.
Why the cooling → heating switchover is anything but trivial
On paper, a reversible air-to-air heat pump simply reverses the direction in which the refrigerant circulates, thanks to a 4-way valve. In practice, the mechanical and thermal stresses are very different from one season to the next.
In cooling mode, the indoor unit acts as an evaporator: it condenses moisture out of the air, produces litres of condensate and remains permanently damp. In heating mode, it becomes a condenser: it dries out, heats up, and recirculates everything that settled over the summer in the fan barrel and on the heat exchanger. This is the source of the notorious "musty smell" that many users notice when they first restart in heating mode in the autumn.
Outdoors, the reversal is just as abrupt: the unit that spent three months rejecting heat will now be extracting warmth from cold, damp air, with frost forming on the coil and regular defrost cycles. An outdoor exchanger fouled by fluff, seeds and summer dust sees its efficiency fall, which multiplies those defrost cycles — and therefore electricity consumption.
Fouling of 20 % of the heat exchange surface can be enough to cost an air-to-air heat pump several COP points, according to field feedback from inspection bodies in the HVAC sector.
A reminder of the rules on mandatory servicing
Since decree no. 2020-912, any air conditioning system or heat pump with a nominal output between 4 and 70 kW must undergo mandatory servicing every two years by a professional. That inspection covers, in particular, checking the circuit for leaks, inspecting the filters, assessing efficiency and providing optimisation advice.
On top of that, for equipment containing more than 2 kg of refrigerant (or a charge exceeding 5 tonnes of CO₂ equivalent), there is the periodic leak check provided for by articles R.543-99 et seq. of the French Environment Code, under the F-Gas regulation. The vast majority of residential R-32 splits stay below this threshold, but high-output multi-splits and ducted systems can exceed it.
Legal servicing in no way removes the need for user maintenance: routine upkeep is a monthly or seasonal job.
Step 1: the indoor unit's filters
This is the single most rewarding task on the whole checklist, and the most often neglected. A filter clogged after an intensive cooling season reduces airflow, increases fan consumption, degrades air quality and encourages microbial growth on a heat exchanger that is still damp.
The procedure is simple:
- Cut the power to the unit (remote control + dedicated circuit breaker if accessible).
- Open the front panel of the wall-mounted unit — it usually swings upwards.
- Remove the dust filters by unclipping them upwards then forwards.
- Vacuum off the larger particles, then rinse in lukewarm water (never above 40 °C) with a little neutral soap.
- Let them dry completely in the shade before refitting: a filter put back damp becomes a breeding ground for mould.
Many recent models also include additional filters: activated carbon, catechin, photocatalytic, or an electrostatic pre-filter. These elements cannot always be washed and are generally replaced every year. Check the exact part number in your model's manual before ordering a compatible set of activated carbon filters: formats vary enormously from one brand to another, even within a single range.
Cleaning the indoor heat exchanger
Beyond the filters, the finned coil of the indoor unit builds up a biofilm over the summer. A self-evaporating foam air conditioner cleaning spray makes it possible to treat the coil without dismantling anything: the foam settles between the fins, dissolves deposits, then drains away naturally through the condensate tray when the unit restarts.
One caveat, though: this type of product is no substitute for professional cleaning of the fan barrel. If you notice black spots on the fan roller or droplets being sprayed out at start-up, a full strip-down by a technician is needed, with a cleaning bag and a low-pressure washer.
Step 2: condensate drainage and the tray
Three months of condensate production leave their mark. The drain pipe, often made of flexible PVC, can become blocked by algae deposits or simply by a reverse gradient created when a support settles.
The symptoms of a partially blocked drain are easy to recognise:
- droplets beading at the bottom of the indoor unit;
- a "gurgling" noise during operation;
- automatic shutdown with an error code linked to the safety float (on ducted systems and cassettes).
In heating mode, condensate production shifts location: it is the outdoor unit that produces it, particularly during defrost cycles. So check that the lower drain of the outdoor unit is clear and that water will not build up under the chassis, where it will freeze on the first sub-zero nights. On ground-mounted installations, a drip tray with drainage directed towards a soakaway or free-draining area prevents a sheet of ice forming under the unit.

Step 3: the outdoor unit, September's forgotten component
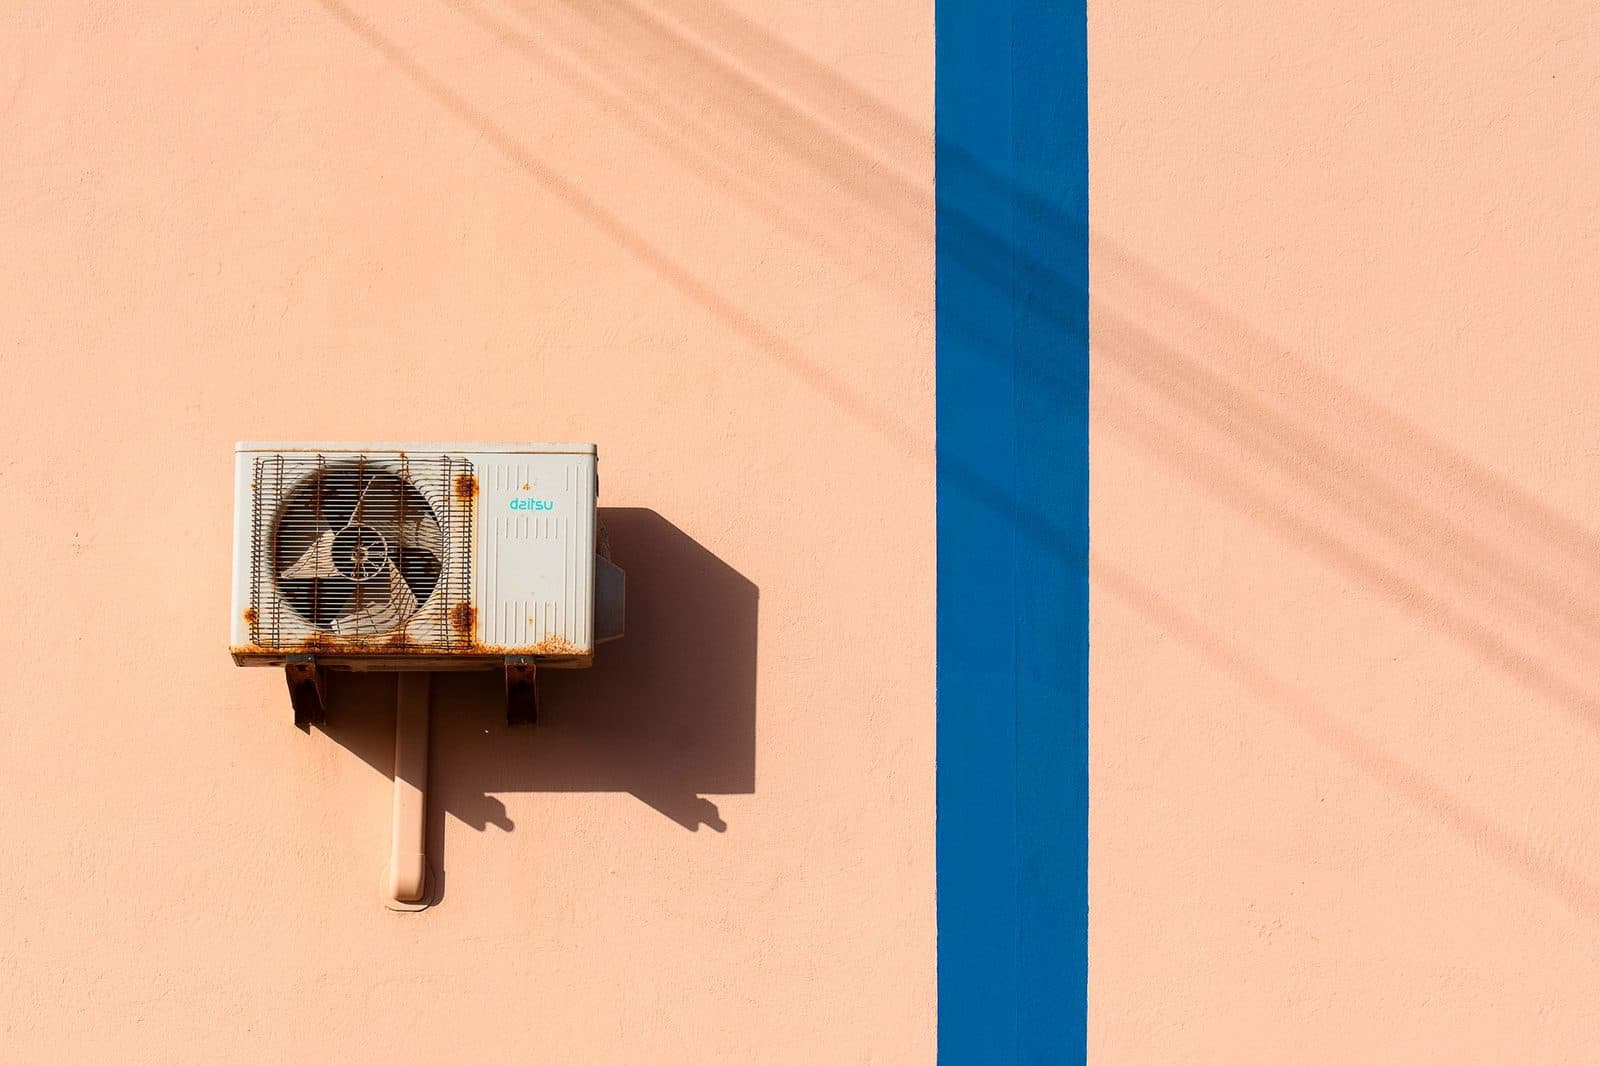
This is the part that will be working hardest this winter. After a summer of shifting hot air, its finned coil is often carpeted with seeds, poplar down, clumped pollen and mineral dust.
A sensible protocol for a homeowner:
- Cut the power supply at the circuit breaker before doing anything.
- Remove leaves and debris caught in the grille by hand or with a vacuum cleaner.
- Brush the fins in the direction of the blades, never bending them, using a soft brush.
- Rinse with clean water at low pressure, working from top to bottom. Pressure washers are strictly off-limits: they crush the fins and can damage the sensors.
- Straighten slightly bent fins with an air conditioning fin comb, an inexpensive tool that restores the airflow cross-section.
Take the opportunity to check the unit's immediate surroundings. The common-sense rule: at least 30 cm of clearance at the back, 50 cm at the sides and 1 m in front of the air outlet. A hedge that has grown 40 cm over the summer can be enough to cause air recirculation and send performance tumbling.
Checking the insulation on the refrigerant lines
The copper lines between the indoor and outdoor units are insulated with elastomer foam. Summer UV radiation ages it prematurely: it cracks, splits, then falls away. In winter, a poorly insulated line causes direct heat losses and condensation.
A visual check is enough. If the sleeve is split, UV-resistant insulating pipe tape allows a tidy repair to be made while waiting for the technician's visit. Sleeves damaged over more than a few centimetres, on the other hand, must be replaced properly.
Step 4: the settings to review before the heating season
An air-to-air heat pump is not operated the same way in winter as in summer. The parameters that were optimal in August become counterproductive in November.
| Parameter | Summer setting | Recommended winter setting |
|---|---|---|
| Set point | 26-27 °C | 19-20 °C during the day, 17 °C at night |
| Louvre direction | Horizontal (cold air falls) | Downwards (warm air rises) |
| Fan speed | Auto or low at night | Auto, avoid prolonged silent mode |
| Mode | Cool / Dry | Heat, never "Auto" in mid-season |
The most widely misunderstood point concerns louvre direction. In heating mode, the air blown out is lighter than the ambient air: it tends to stagnate at ceiling level. Aiming the blades downwards, or even at 60°, helps push the layer of warm air down into the living zone. Without this setting, you end up with a ceiling at 24 °C and feet at 18 °C, with a thermostat that cuts out too soon.
The second common mistake: leaving the unit in Auto mode. In mid-season, the unit then switches between heating and cooling several times a day as conditions vary, and consumption goes through the roof. Force Heat mode as soon as the season is properly under way.
Finally, resist the temptation to keep switching off and on again. An inverter heat pump achieves its best efficiency running steadily at low output. Switching the unit off when you leave for work and then firing it up to 22 °C in the evening costs more than keeping it running continuously at 19 °C with a slight night-time setback. A simple indoor thermometer-hygrometer placed in the living room lets you objectively check the gap between the remote control's set point and the temperature actually achieved at living level — the difference often exceeds 2 °C.
Step 5: the heating test run, to be done now
Don't discover a fault on 15 November. Pick a cool September morning and run a thirty-minute heating cycle with the windows closed.
What you should observe:
- Gradual start-up: the indoor fan does not blow straight away, the unit waits for the exchanger to come up to temperature (cold-draught prevention function). This is normal.
- Supply air temperature: between 35 and 50 °C depending on the brand and the outdoor temperature. Below 30 °C, there is a problem.
- No abnormal noises: metallic rattling, a continuous whistle or vibration of the outdoor chassis should raise the alarm.
- No error code on the display or the remote control.
Lukewarm air combined with abnormally fast frosting of the outdoor unit points to an insufficient refrigerant charge — in other words, a micro-leak that appeared during the season. This diagnosis is exclusively the province of a professional holding the certificate of competence for handling refrigerants, with the company itself required to hold the capability certificate issued by an approved body. You can check this on the website of the Syndicat nationale des professionnels du froid, or simply by asking for the certificate number, whose validity can be verified.
The ideal back-to-school calendar for your air conditioning
| Period | Action |
|---|---|
| Late August – early September | Clean filters + indoor heat exchanger |
| September | Clean outdoor unit, check insulation and condensate drainage |
| September – October | 30-minute heating test run |
| October | Biennial service visit if due |
| November | Definitive switch to Heat mode, adjust louvres |
This schedule has an obvious economic advantage: HVAC companies are far more available in September and October than in the middle of a cold snap, and the rates for maintenance contracts taken out off-season are frequently more attractive. With ongoing pressure on the refrigeration trades, booking ahead is no longer a luxury but a necessity.
Key takeaways
Switching a reversible air conditioner over for the season is not a matter of simply pressing a button on the remote control. It calls for a thorough clean of the indoor unit, restoration of the outdoor heat exchanger, a check of the drainage and a set of adjustments specific to heating mode.
The benefits are measurable: several points of efficiency gained on the COP, markedly better air quality at start-up, fewer pointless defrost cycles and, above all, the near-elimination of the risk of a breakdown in the depths of winter. For an outlay of a few dozen euros in consumables and two hours of work, the return is hard to beat.
One final piece of advice: keep your servicing invoices, leak-check certificates and appliance manual together in a file. If you sell the property, fall into dispute with the installer or need to invoke the manufacturer's warranty, these documents make all the difference.
Need an air conditioning solution?