Switching your reversible air conditioner to heating mode: the September checklist to keep your bill under control

L'équipe Proclimo
29 Aug 2026 - 08 min read
There's a moment, every year, when the living room thermostat reads 18.5 °C first thing in the morning and someone grabs the AC remote thinking: "right, let's try the little sun icon." This year, far more people than usual will be doing exactly that.
The summer of 2026 saw an unprecedented volume of installations: the VAT cut to 5.5% on air-to-air heat pumps in July triggered a wave of installations that the trade had been waiting years for. The result: hundreds of thousands of French households are about to use their unit for heating for the first time this autumn.
And that's where the unpleasant surprises begin. Because an air-to-air heat pump in heating mode isn't operated the way it is in cooling mode. The instincts are reversed, the mistakes are expensive, and a poorly configured unit can consume 30 to 40% more than a properly set-up one — for less comfort.
Why heating mode is a different job entirely
In cooling mode, your indoor split unit absorbs heat from the room and dumps it outside. In heating mode, the cycle reverses: it's the outdoor unit that becomes the evaporator, extracting heat from the air even when it's 3 °C outside.
Three very concrete consequences:
- The outdoor unit works much harder. It frosts up, it defrosts, it makes noise and it produces condensation water by the litre.
- Efficiency depends on the temperature difference. The colder it is outside, the lower the COP. At +7 °C outdoors, a good recent unit posts a COP of 4 to 4.5. At −7 °C, it often drops to between 2 and 2.5.
- Heat stratifies. Warm air rises. A wall-mounted split blows out at 2.20 m above the floor: without the right settings, you're heating the ceiling while your feet stay cold.
That last point alone explains 80% of first-year disappointments.
Step 1: the end-of-summer clean, non-negotiable
Your unit has just run for two to three months in cooling mode. The indoor unit's filters have trapped dust, pollen and particles; the outdoor coil has accumulated leaves, seeds and poplar fluff.
The indoor filters
On virtually every wall-mounted split they come out in thirty seconds: lift the cover, unclip the two plastic grilles. Rinse in lukewarm water with a little mild soap, then dry completely in the shade before refitting — never with a hairdryer, as the plastic mesh warps.
A filter that's 30% clogged reduces airflow by the same amount, and the compressor compensates by running longer. ADEME regularly points out that routine filter maintenance offers the best effort-to-savings ratio on an air-to-air heat pump.
If your unit runs continuously from November to March in a living space, plan on a monthly check. A vacuum cleaner with a soft brush nozzle saves you from dismantling everything each time just to remove surface dust.
The outdoor coil
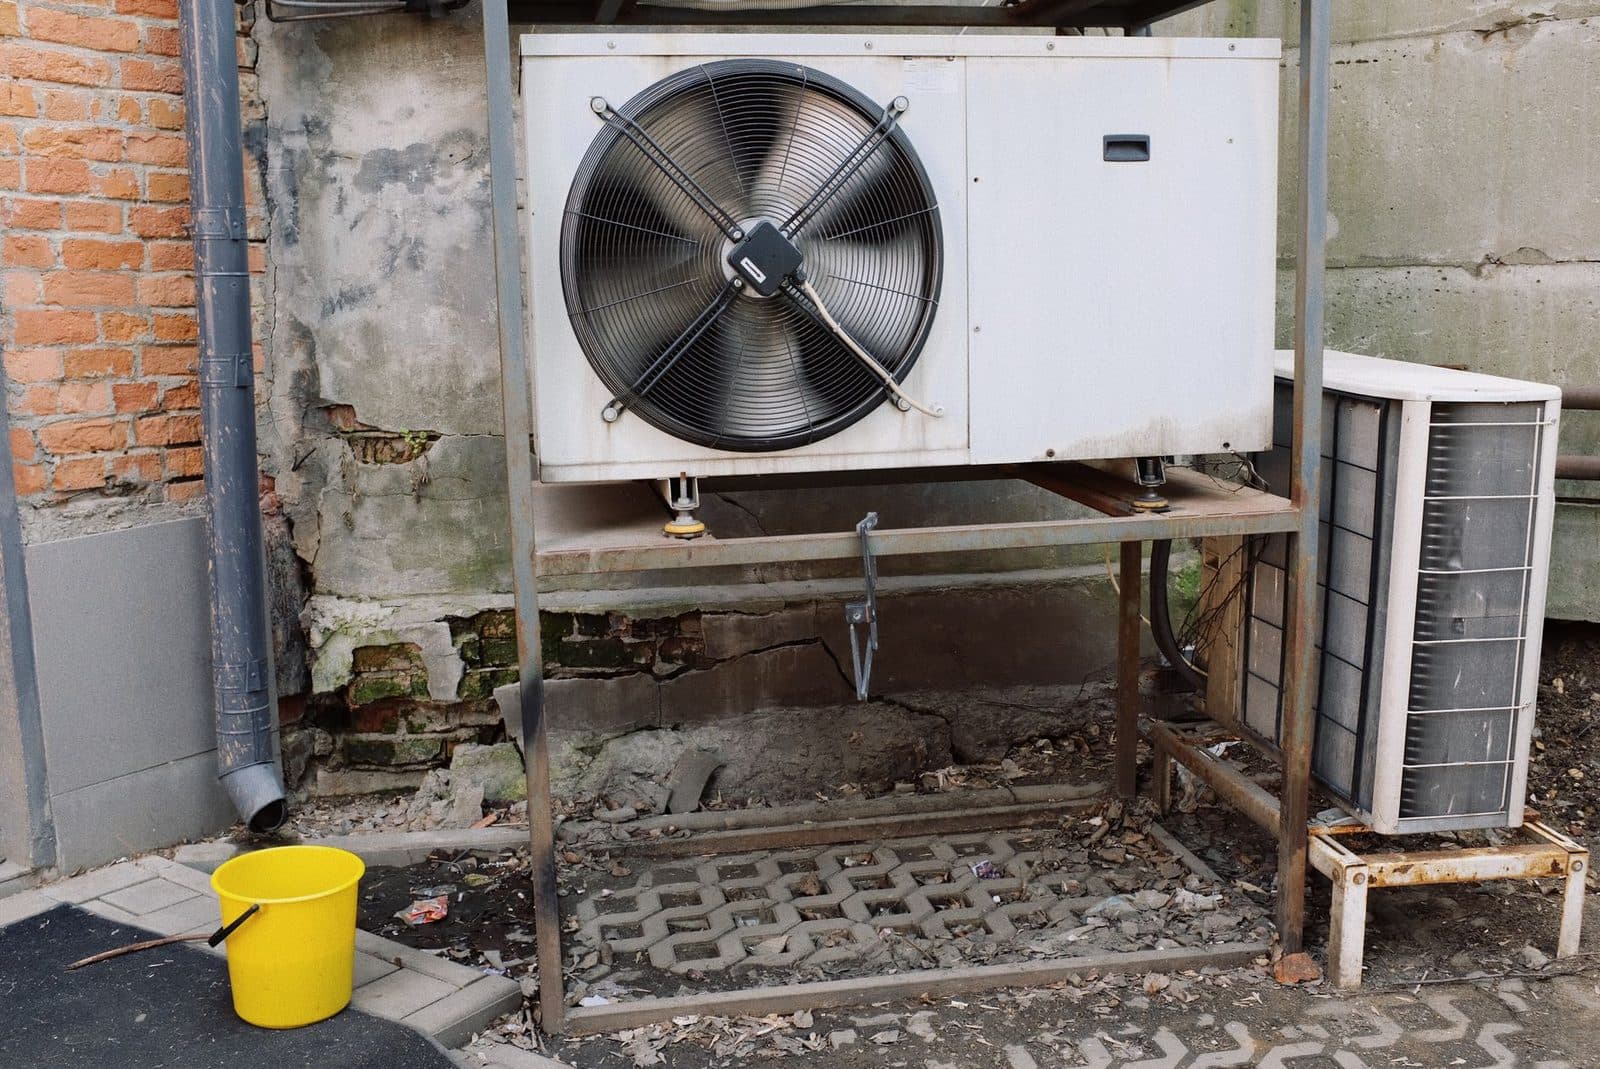
Cut the power at the breaker. Remove by hand any leaves caught in the fins, then rinse at low pressure, from top to bottom, following the direction of the fins. A pressure washer aimed from 20 cm away will flatten the aluminium fins irreversibly: that's the classic September mistake.
Also check:
- that the base or the anti-vibration mounts haven't sagged;
- that the condensate drain beneath the unit isn't blocked (in winter, an air-to-air heat pump can produce several litres of water a day during defrost cycles);
- that no vegetation has grown within 50 cm of the intake grille.
Sanitising the fan coil
After a summer running in cooling mode, the indoor fan wheel and heat exchanger have been working wet. That's the ideal breeding ground for biofilms — and the source of that damp-cloth smell that appears in the first few minutes after start-up. An air conditioning disinfectant spray applied to the heat exchanger with the unit switched off resolves most cases. If the smell persists after two applications, it's the drain pan or the fan wheel that needs cleaning: call a refrigeration engineer.
Step 2: the five settings that change everything
This is where your bill is decided. Here are the parameters to review one by one before the first cold night.
Point the louvres downwards
It's counter-intuitive, but essential. In cooling mode, you blow horizontally so the cold air doesn't land on your head. In heating mode, you need to do exactly the opposite: louvres angled towards the floor, at 60° minimum. The warm air will rise naturally and circulate through the full height of the room.
Failing to do this creates a pocket of 26 °C air under the ceiling, while the return air sensor — also mounted high up — thinks the setpoint has been reached and shuts the compressor down. You're cold and the machine stops: the most common paradox of all.
Choose "auto" fan speed, not the lowest setting
An understandable instinct: turn the fan down to reduce noise. In heating mode, it's a bad trade-off. Low airflow means a higher supply air temperature on a small volume of air: the heat stagnates up high and the room takes twice as long to warm up. Let automatic mode handle it.
A steady setpoint, no yo-yoing
An air-to-air heat pump reaches peak efficiency in steady-state operation, with the inverter compressor running at part load. On/off cycling is what costs the most.
| Room | Recommended setpoint |
|---|---|
| Occupied living room | 19 to 20 °C |
| Bedroom at night | 16 to 17 °C |
| Bathroom (occasional use) | 21 to 22 °C |
| Home empty during the day | 17 °C (setback, not off) |
Going from 20 to 19 °C in the living room represents roughly 7% less heating consumption according to ADEME estimates. Over a whole season, that's far from trivial.
Above all: don't switch it off completely when you're out for eight hours. Bringing a room back up from 14 °C takes more energy than keeping it at 17 °C. The "setback" mode or the remote's weekly scheduling exist for precisely this reason.
Check what the unit is actually reading
The return air sensor sits inside the indoor unit, high up on a wall. So it measures the warmest air in the room. That's why so many users end up pushing the setpoint to 24 °C just to get an actual 20 °C at sofa level.
Most recent remotes offer a "follow me" / "i-feel" function: the remote's own sensor takes over. Put it on a coffee table, never on a radiator or in direct sunlight. And to get objective data, an indoor thermometer and hygrometer placed at seated height will tell you within two days whether your settings hold up.
Turn off the exotic automatic modes
The "AUTO" mode that switches by itself between cooling and heating is a trap in the shoulder seasons: between seasons, it can cool the house in the afternoon and then heat it in the evening on the same day. Force heating mode (sun icon) and leave it there.
Step 3: understand defrost cycles before you panic
The first real cold snap, around 3 or 4 °C with humidity: the outdoor unit ices over. The machine then triggers a defrost cycle — it briefly reverses its cycle to warm up its own coil.
What you'll observe, and which is perfectly normal:
- the indoor unit stops blowing for 3 to 10 minutes;
- a plume of vapour escapes from the outdoor unit;
- an audible "clunk" corresponds to the four-way valve switching over;
- water runs out from under the outdoor unit.
A defrost cycle every 40 to 90 minutes in cold, damp weather is normal. A defrost cycle every 15 minutes, or a coil that stays iced up after the cycle, is not: it's time to call a professional.
This point is worth planning for: defrost water running onto a sloping terrace, a pavement or a driveway freezes overnight and creates a sheet of black ice. The fix is to fit a condensate tray for the outdoor unit with drainage to a suitable outlet, installed during the maintenance visit. In some apartment buildings, run-off onto common areas is explicitly flagged in the building regulations.
Step 4: is this really your main heating system?
The big first-season question. The answer: it depends on the sizing, and many of the summer 2026 installations were sized for cooling.
A unit chosen to cool 40 m² in August doesn't necessarily have the output needed to heat the same volume at −5 °C. Two simple benchmarks:
- Look at the heating output at −7 °C on the technical data sheet, not the nominal output at +7 °C. The gap is often 25 to 35%.
- Check the SCOP (seasonal coefficient of performance) for the average climate zone. Below 4, the unit is acceptable; above 4.6, it's very high-performing.
Another structural limitation: a single split heats the room it's installed in, not the bedrooms behind closed doors. A single-split reversible air conditioner is a powerful supplementary heater for the living space, rarely a central heating system. Multi-splits change the equation, provided each unit has been sized room by room.
For the bathroom, the back bedroom or the home office with no unit, a low-output inertia-based supplementary heater is often still the most economical solution — far more so than a 2,000 W fan heater running for an hour every morning.
Step 5: measure, or you're flying blind
Heating mode structurally consumes more than cooling mode: the season lasts five months instead of two, and the temperature gap to overcome is larger. Optimising without figures is impossible.
The simplest approach, when the heat pump has its own circuit at the consumer unit, is to track its dedicated consumption. An electricity meter fitted on the line, or a smart plug for portable models, gives you a usable order of magnitude within a week. Many households discover this way that their actual consumption is far lower than they feared — or, conversely, that one absurd setting is costing them €25 a month.
Then cross-reference with the hourly data from your smart meter (available free of charge in your Enedis customer account): you'll immediately see which hours the unit draws the most, and whether your schedule lines up with your off-peak windows. Since the off-peak time slots were reworked earlier this year, these windows have changed for some customers — shifting your schedule by two hours can be enough to claw back several euros a month.
Statutory maintenance: what the law actually says
A useful reminder, because plenty of misinformation circulates:
| Situation | Requirement |
|---|---|
| Air-to-air heat pump from 4 to 70 kW | Mandatory maintenance every 2 years by a professional (decree no. 2020-912) |
| Refrigerant charge ≥ 2 tonnes CO₂ equivalent | Periodic leak check by an operator holding a certificate of competence |
| Domestic split < 4 kW | No legal requirement, but maintenance strongly recommended |
The vast majority of domestic pre-charged R-32 split systems fall below the annual leak-check thresholds, but the biennial maintenance requirement applies from 4 kW upwards — which covers the overwhelming majority of installations fitted this summer. The visit includes a circuit leak check, a performance verification, cleaning of the heat exchangers and the issuing of a certificate.
The best time to book it? September–October, precisely. Refrigeration engineers' diaries empty out after the summer rush and fill up again with the first cold spell. Waiting until December means accepting a three-week wait.
The checklist to tick off before the first cold night
- Indoor filters removed, washed, dried and refitted
- Indoor heat exchanger sanitised if there's a smell at start-up
- Outdoor coil cleared of leaves and gently rinsed
- Condensate drain clear and directed away from walkways
- Air louvres angled downwards
- Fan set to automatic mode
- Heating mode forced (not "AUTO")
- Setpoint set between 19 and 20 °C in the living room
- Weekly schedule programmed with a setback, not a shutdown
- "Follow me" function activated if available
- Biennial maintenance visit booked if it's due this year
An air-to-air heat pump properly prepared in September gets through winter without intervention. A unit left as it is after summer racks up the symptoms: smells, weak airflow, frequent defrost cycles, unexplained bills — and an emergency call-out on a Monday in January, when nobody is available.
Thirty minutes now, or a three-week wait in the middle of a cold snap. The maths isn't hard.
Need an air conditioning solution?