The Stages of an Air Conditioning Installation, from Site Survey to Commissioning: Duration, Work Involved and Preparing Your Home

L'équipe Proclimo
17 Oct 2026 - 09 min read
The question that comes up most often on the phone, right after price, is: "how long does it take, and do I need to be there?" Behind that ordinary question lies a genuine worry: the prospect of two technicians turning up with a hammer drill and a 65 mm core bit aimed at an exterior wall, without knowing what will be happening in your living room for the next six hours.
Installing an air conditioner or an air-to-air heat pump is not a major building project. But it is a technical, carefully sequenced job that leaves no room for improvisation. The vacuum pull-down rushed on Tuesday morning becomes next summer's refrigerant leak. The line route decided at the last minute becomes the unsightly trunking you'll be looking at for fifteen years.
Here is the real run-through of an installation in the Île-de-France region, step by step, with the timings we actually see, what falls to the client and what falls to the installer.
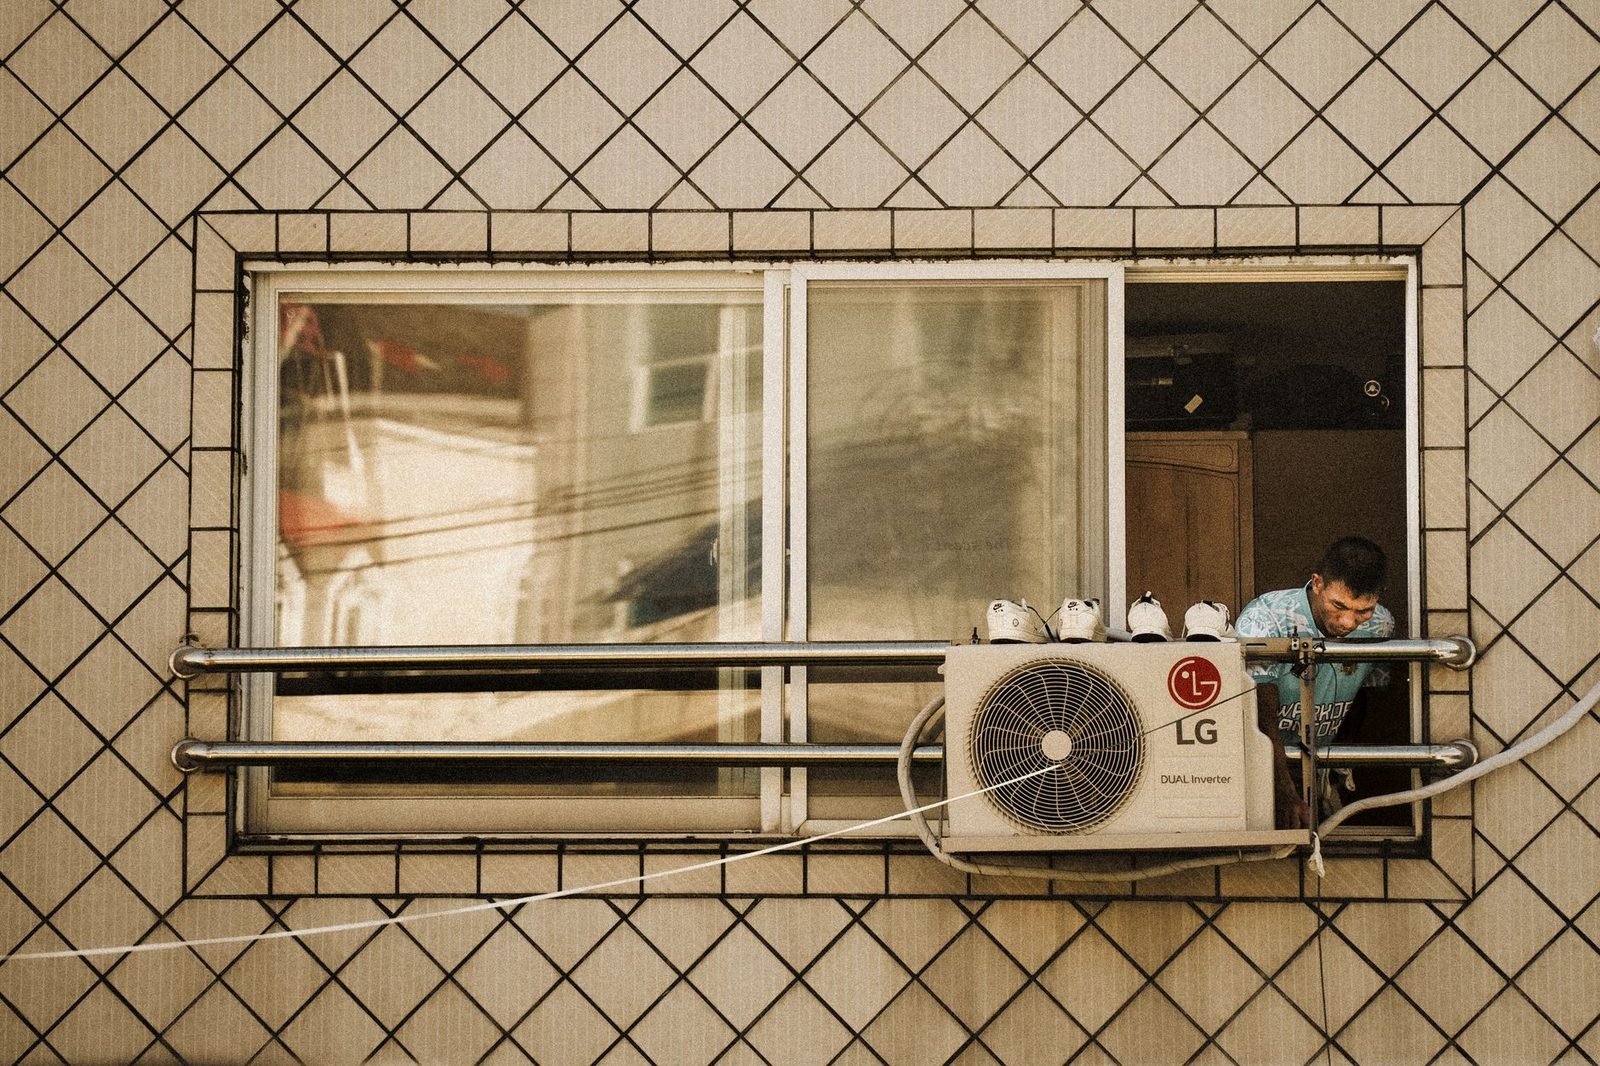
Stage 1: the site survey, where the real decisions are made (45 to 90 minutes)
A quote drawn up purely over the phone or from floor plans is a provisional quote. The site survey is the only moment when the choices that can't be undone later are locked in.
What the technician actually comes to look at:
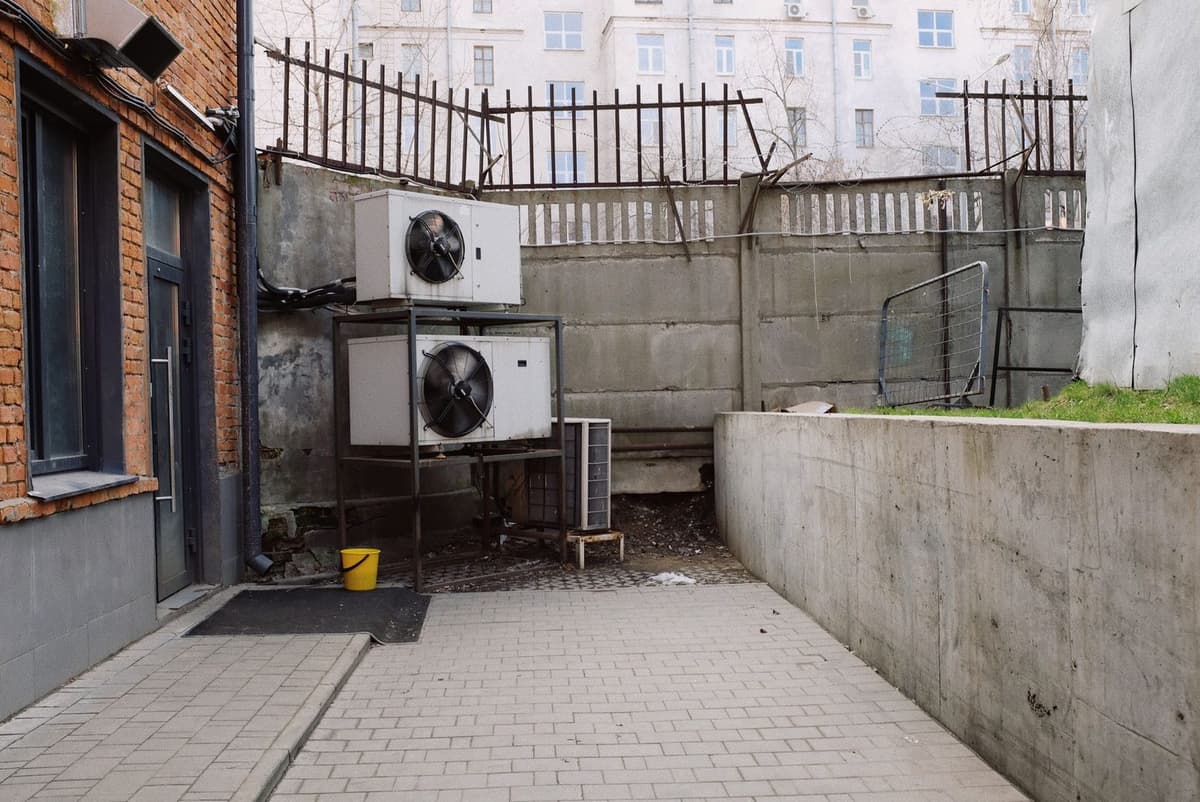
- Where the outdoor unit will go. Balcony, courtyard, flat roof, street-facing façade, front garden. This is the point that determines whether the whole project is feasible, how much noise the neighbours will hear and, in a shared building, whether a general meeting approval is needed. We go through the criteria in our guide to choosing the location for the outdoor unit.
- The route of the refrigerant line. Two copper pipes, a power cable and a condensate hose, all inside a conduit. The length, the number of bends and the height difference between the two units are limited by the manufacturer (often 15 to 25 m for a wall-mounted unit, with a maximum height difference of 8 to 15 m).
- Condensate drainage. Gravity-fed if there's enough fall, otherwise a condensate pump. This is the most common source of faults, as our article on condensate drainage shows.
- The electrical panel. An air-to-air heat pump requires a dedicated circuit from the panel, with its own breaker and an appropriately sized cable. On an older, already full Paris-region panel, an extra row sometimes has to be added.
- What the walls are made of. A 50 cm millstone-grit load-bearing wall, an office curtain wall or a plasterboard partition allow neither the same fixings nor the same drilling times.
Insist that the site survey results in a written layout plan: the exact position of each indoor unit, the route of the lines, the drilling point, the location of the breaker. That document is what protects you if the end result doesn't look like what you had in mind.
This is also when sizing is settled. A serious installer measures, calculates solar gains and heat losses, and doesn't just apply a rule of thumb like "100 W per m²". Our room-by-room kW calculation method explains why oversizing is expensive in terms of both comfort and running costs.
Stage 2: between the signed quote and the work itself (2 to 10 weeks)
This phase is invisible, but it's often the one that stretches out the timeline.
| Procedure | Who handles it | Typical timeframe |
|---|---|---|
| Building co-ownership approval (general meeting or managing agent's consent) | The owner, with the quote and technical data sheets | 1 to 6 months depending on the meeting calendar |
| Prior works declaration at the town hall (façade alteration) | The owner or the installer acting on their behalf | 1 month for processing, 2 months in a protected area |
| Written consent from the landlord (residential or commercial lease) | The tenant | 2 to 6 weeks |
| Ordering the equipment | The installer | 1 to 4 weeks |
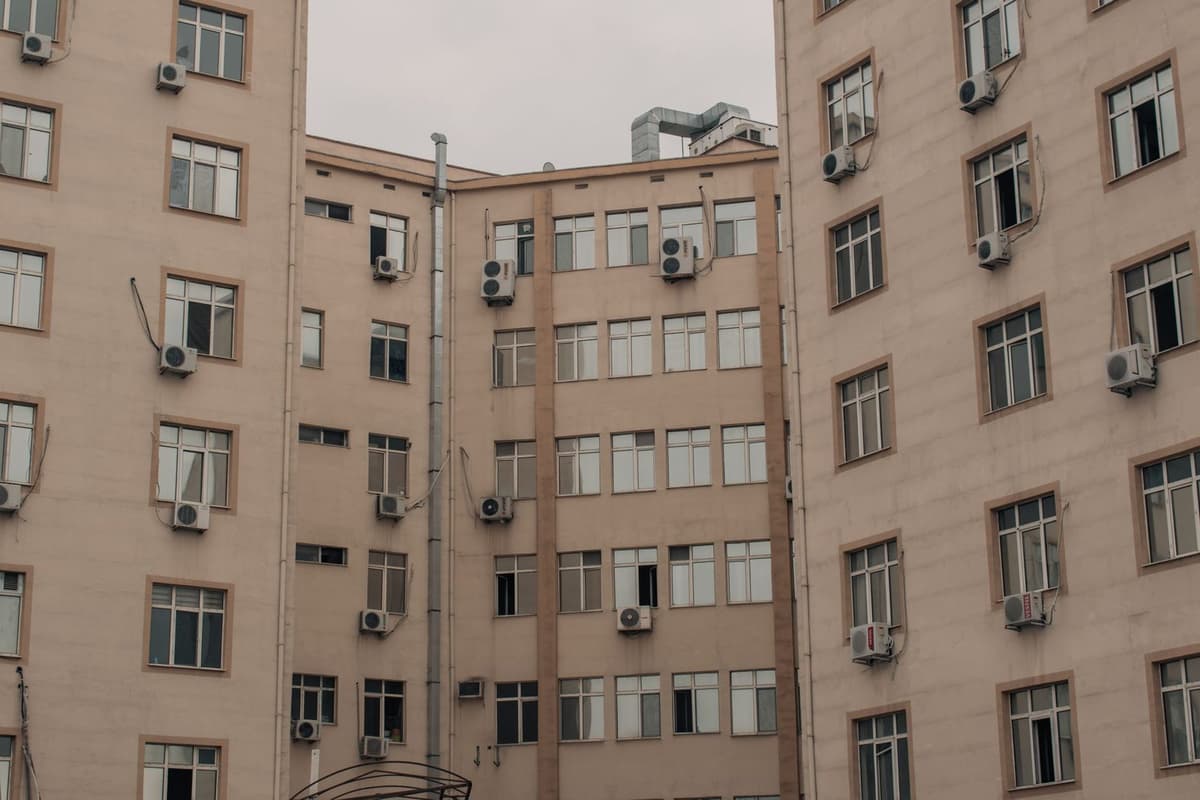
In the Île-de-France region, and especially within central Paris, the administrative constraints weigh more heavily than the technical ones. A building in a heritage protection area frequently requires an outdoor unit that isn't visible from the street — so in a courtyard, which means a longer line route and acoustics that need careful attention. For everything to do with permissions, see our guide to installation in a co-owned building.
Stage 3: the day before, what you need to get ready
Four preparations save the team half a day — and save you the bill for the extra time.
Clear the work areas. Allow 1.5 m in front of every wall that will take an indoor unit, and the same clearance around the outdoor location. Heavy furniture must be moved before they arrive; it isn't the technicians' job and their insurance doesn't cover your furniture.
Protect what stays put. Core-drilling a stone wall produces a fine dust that settles everywhere. A few plastic protective dust sheets over the sofa, the bookcase and the parquet make a dramatic difference to the state of the home at the end of the day. A good team brings their own, but a bit of extra protection never hurts.
Clear access. Entry code, lift, parking permission, key to the plant room, roof access via the caretaker. A van stuck for 40 minutes on rue de Rennes is 40 minutes of work lost.
Warn the neighbours. Not a legal obligation, but experience shows that ten minutes of courtesy avoids three months of friction — especially when the outdoor unit goes into a courtyard. Noise is worth anticipating: we covered it in air conditioning noise and neighbours.
Also set aside space for packaging waste: cardboard, polystyrene, copper offcuts. The installer takes it away, but it passes through your landing first.
Stage 4: the day itself, hour by hour
For a simple wall-mounted split (one indoor unit, one outdoor unit, line under 10 m), allow one working day with two technicians. For a multi-split covering 3 or 4 rooms, two days. For a ducted system, three to five days including the suspended ceiling.
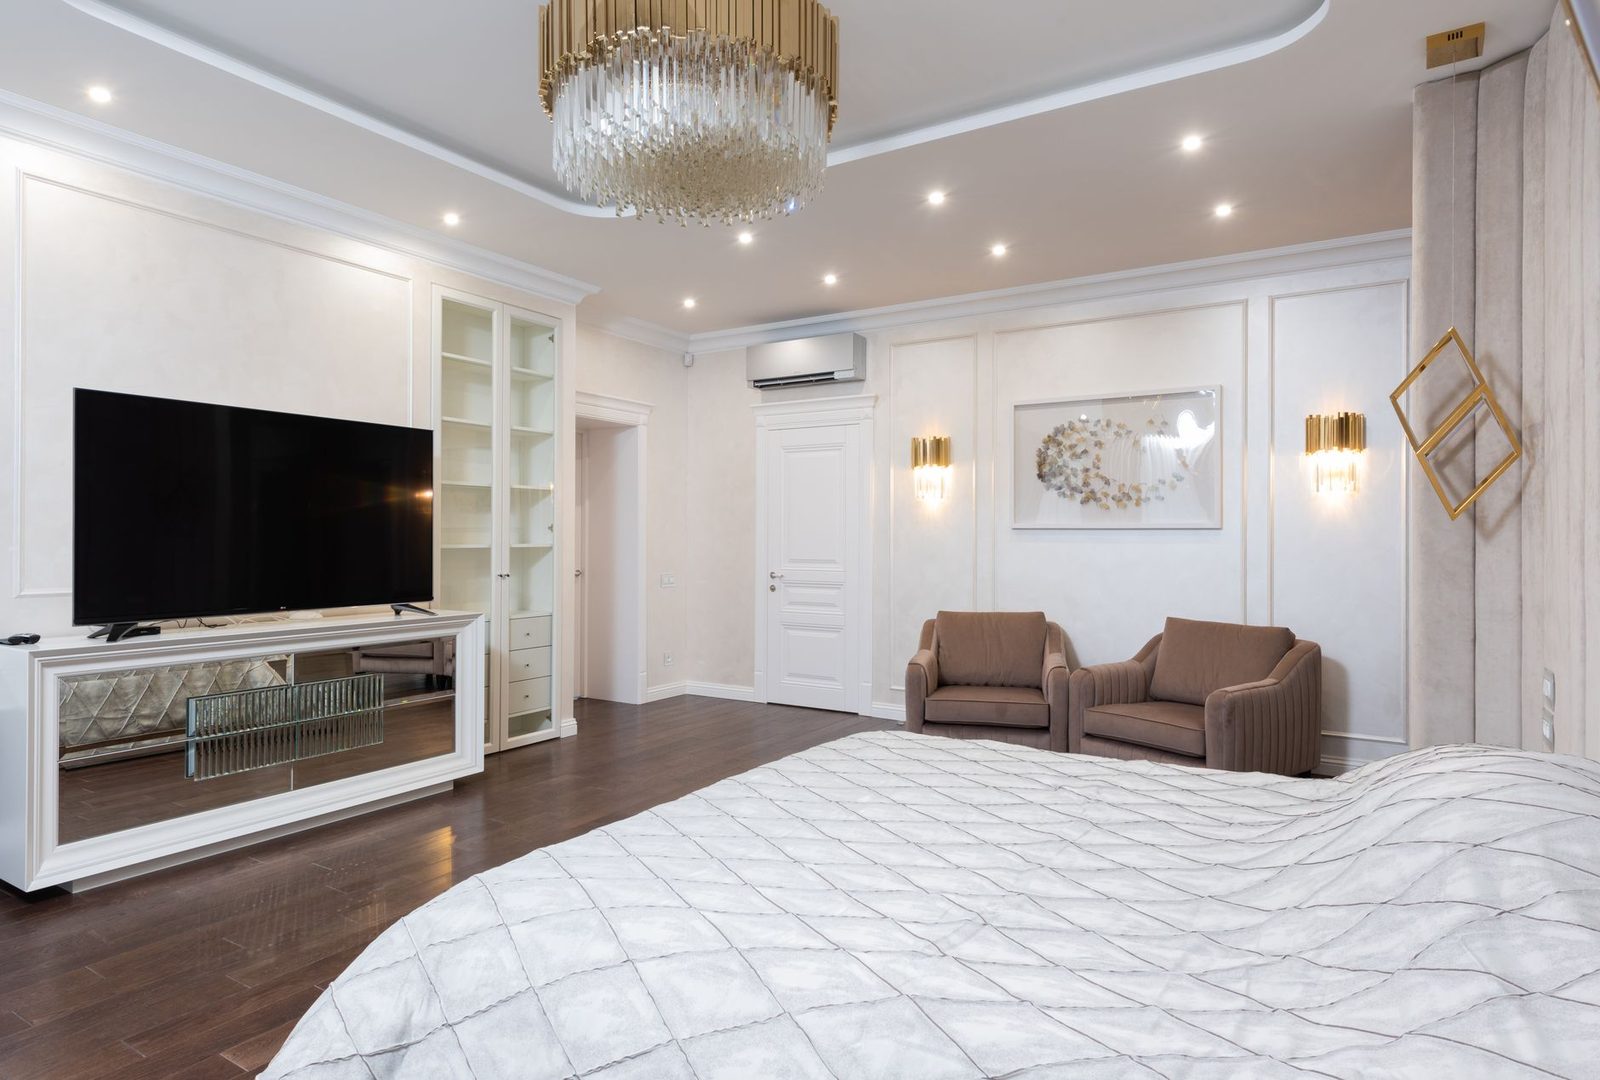
8:30 – 9:00 am: walk-through and marking out
Going back over the layout plan with you, checking with a rule and a laser level, detecting services buried in the wall before drilling. This is your last chance to move a unit by 30 cm. Once the hole is drilled, that's it.
9:00 – 11:00 am: drilling and mounting the brackets
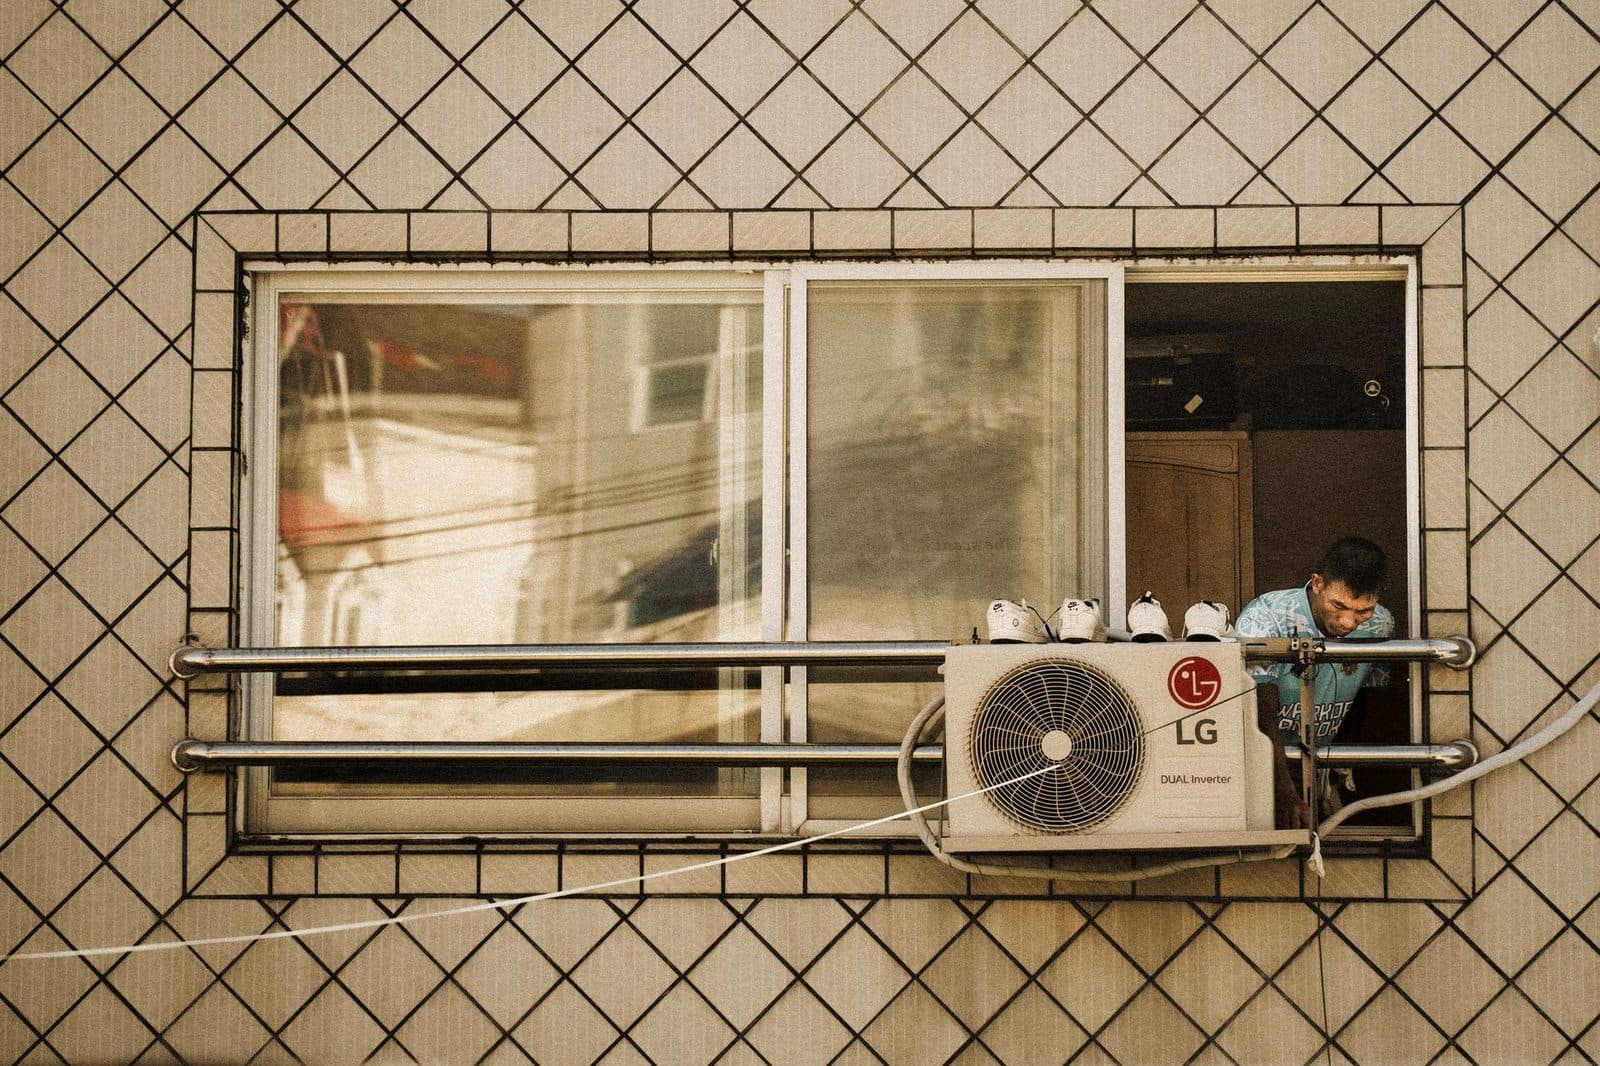
The façade is core-drilled (60 to 80 mm in diameter depending on the line) with a diamond core drill, angled slightly outwards so the condensate drains by gravity. The outdoor unit's brackets are anchored into a load-bearing element — never into mere cladding — with anti-vibration mounts.
This is the noisy phase: between 20 and 50 minutes of actual drilling on a thick Paris-region wall. If you're sensitive to noise, or working from home, a pair of passive ear defenders makes the morning considerably more bearable.
11:00 am – 2:00 pm: refrigerant lines and connections
The copper is straightened, bent, flared or brazed depending on the chosen technique, then insulated. The power and control cable runs alongside it, as does the condensate hose. Where surface-mounted, it all runs inside white or grey PVC trunking — ask to see the route before it's permanently fixed, as a badly placed corner stays visible for life.
The electrical connection is made on a dedicated circuit with suitable protection, in line with the principles of the NF C 15-100 standard, which governs low-voltage electrical installations in residential premises.
2:00 – 3:30 pm: vacuum pull-down and leak testing
This is the step that separates a good installation from a bad one, and it's the one nobody watches.
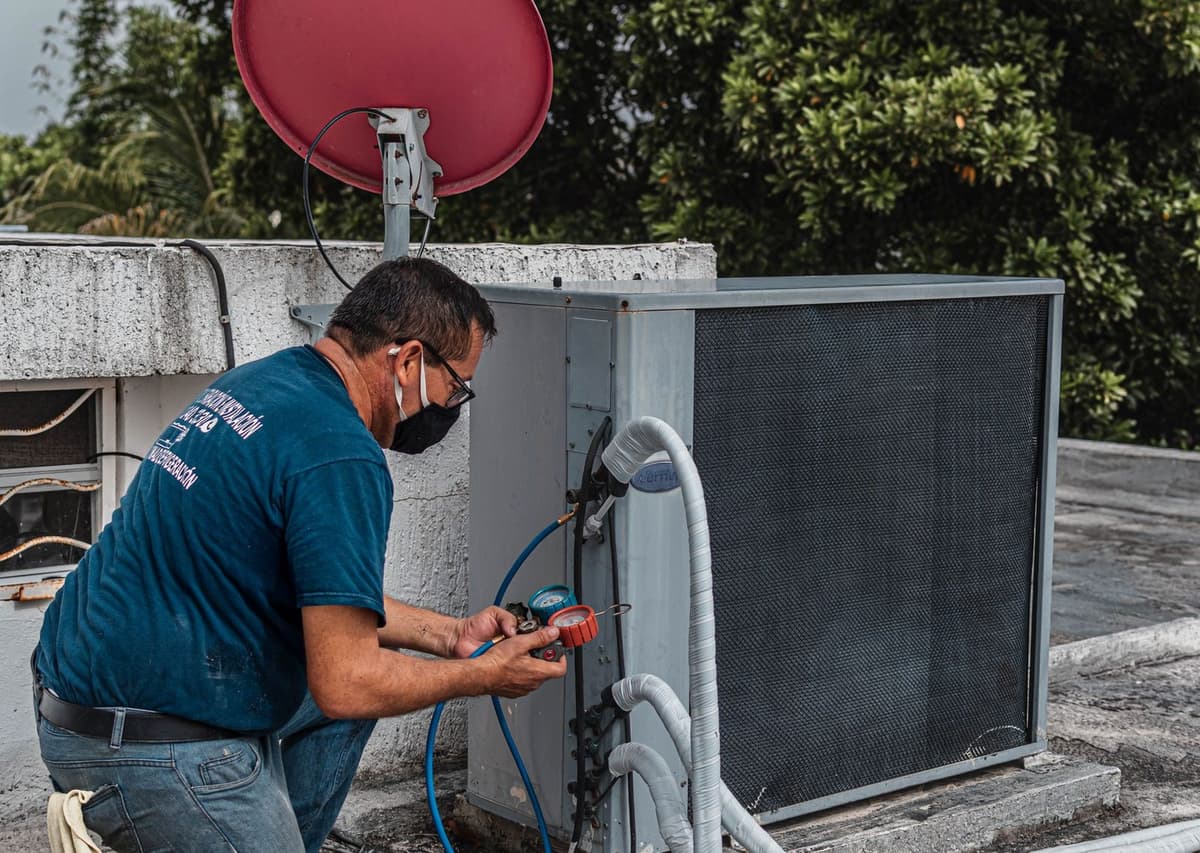
The circuit is placed under vacuum with a pump to draw out the air and, above all, the moisture: a trace of water in a refrigerant circuit forms acids on contact with the oil and destroys the compressor over the medium term. The vacuum must go below 500 microns and hold for several minutes with the valve closed, which is verified with an electronic vacuum gauge.
Then comes the leak test, which is mandatory: Article R. 543-99 of the French Environment Code requires refrigerant handling to be carried out by an operator holding a certificate of competence, and the European F-Gas Regulation 2024/573 sets out periodic checks based on the charge in CO₂ equivalent. To understand what's at stake on the refrigerant side, our article on air conditioning recharging and F-Gas regulations sets out the position.
Ask to be present for this stage. An installer who opens the outdoor unit's valves without having pulled a vacuum — simply "purging" with a little refrigerant — is handing you a machine whose lifespan has already been cut short.
3:30 – 5:00 pm: commissioning and testing
- Opening the valves and releasing the refrigerant charge pre-loaded in the outdoor unit, with a top-up if the line exceeds the standard included length (generally 5 to 7 m).
- Testing in cooling then heating mode, measuring supply and return air temperatures, recording pressures and current draw.
- Checking condensate drainage: a little water is poured into the tray and checked to make sure it comes out outside.
- A basic acoustic check on the outdoor unit, particularly when forced to run.
- Setting up the remote control and, if the unit offers it, pairing the Wi-Fi module.
Stage 5: handing over the paperwork, don't let it slide
This is the half-hour everyone rushes at the end of the job, and it's the one that counts if there's ever a dispute. You should come away with:
- the itemised invoice stating the exact equipment references, the type and quantity of refrigerant, and the VAT rate applied;
- the company's certificate of competence and a mention of the technician's qualification;
- the service report with the commissioning readings (pressures, temperatures, current) — this is your reference point for any future fault;
- the manufacturer's manuals in French and the warranty certificates registered with the brand, since registration often determines the extended warranty;
- the RGE certificate and the supporting documents needed for grants.
Keep it all in a dedicated document wallet file for the equipment, along with the quote, the photos taken before the trunking was closed up and the servicing reports to come. In ten years' time, when you have to decide between repairing and replacing, that file will be worth its weight in gold: we explain why in our article on major faults in air conditioners over 10 years old.
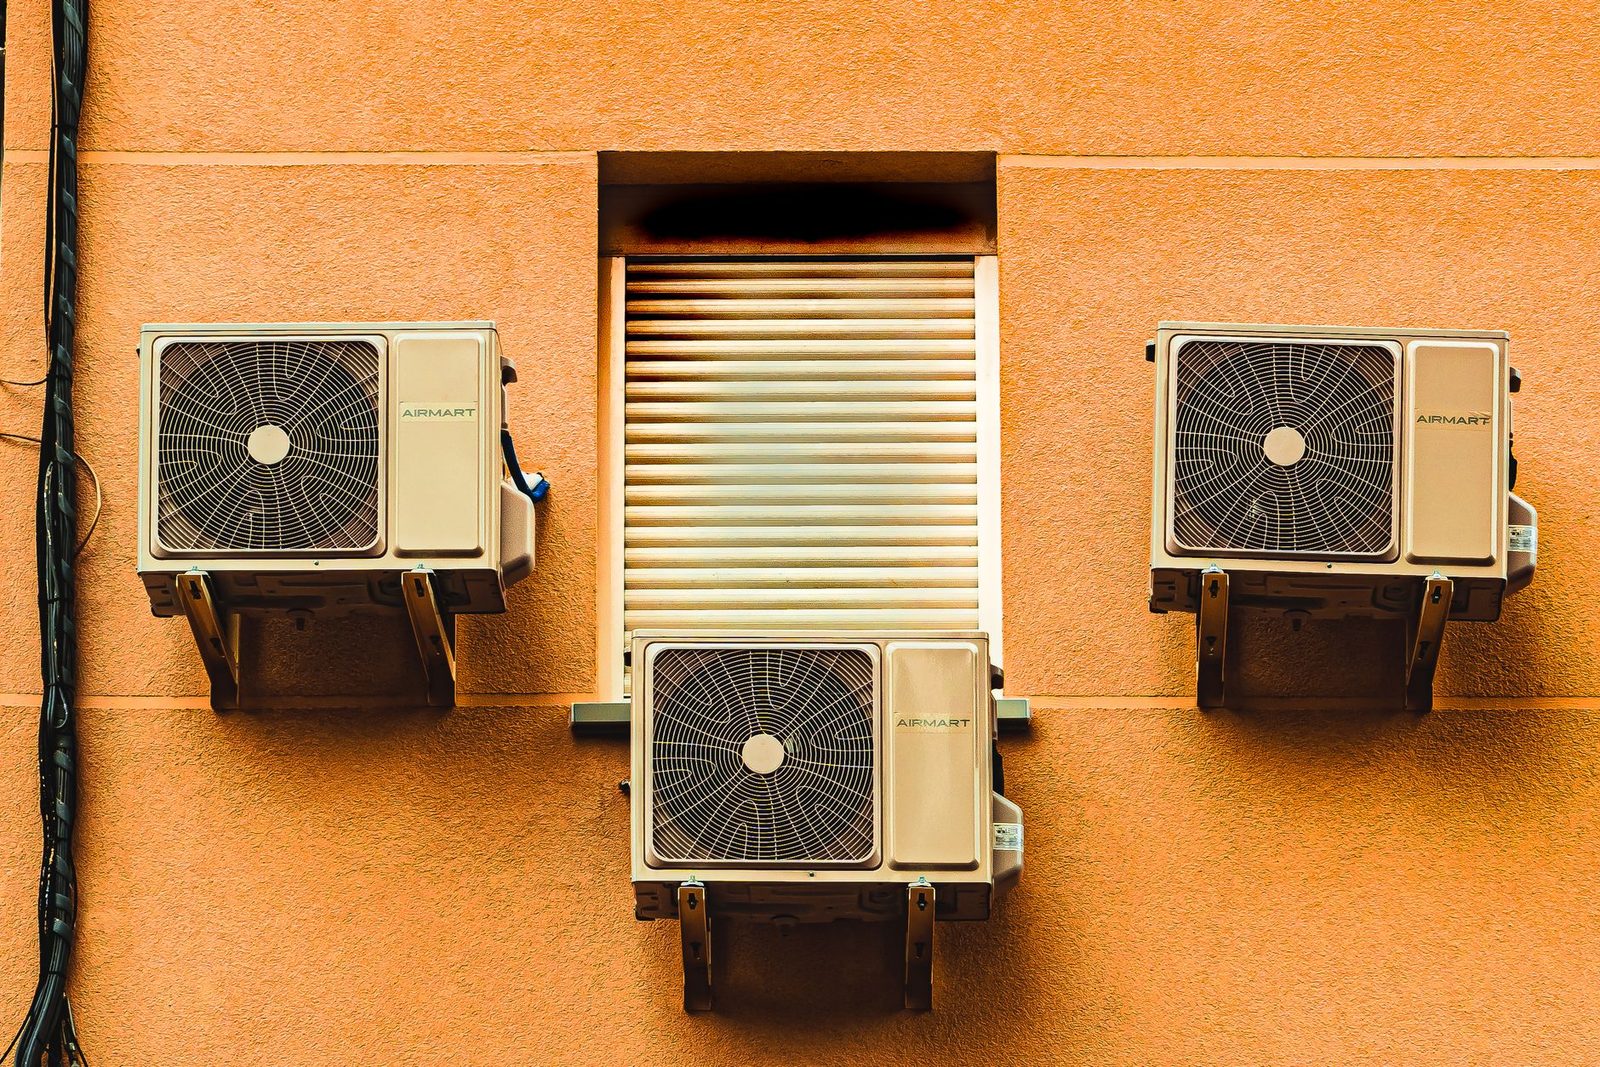
Stage 6: the first fortnight of use
New equipment bedding in is exactly when any anomalies covered by the completion warranty come to light.
What's normal: a faint smell of warm plastic during the first few hours in heating mode, clicking as the copper expands, the outdoor unit defrosting in cold, damp weather with visible vapour, condensate running out beneath the outdoor unit in heating mode.
What isn't, and should be reported within 48 hours: a drop of water running down the inside wall, a continuous whistling noise, an outdoor unit that vibrates through the building structure, a supply air temperature difference of less than 6–7 °C in cooling mode, a recurring error code.
To keep track of how the machine is really behaving, an indoor thermometer-hygrometer placed 1.5 m above the floor in the main room is better than the remote control's sensor, which often sits near the ceiling, and therefore in the warmest air. And if you want hard figures for the first month's consumption, a plug-in energy monitor connected to the outdoor unit's circuit gives a reliable picture, to be compared with the ballpark figures in our article on the real electricity consumption of an air conditioner.
Finally, get straight into the habit of the single most worthwhile action: cleaning the filters every two to four weeks during the season. Keeping a set of compatible replacement filters on hand saves putting the unit out of action the day the original filters give up.
How long in total, and at what price
| Configuration | Installation time | Price range incl. VAT, fitted (Île-de-France) |
|---|---|---|
| Single wall-mounted split, 2.5 to 3.5 kW | 1 day | €1,800 – €3,000 |
| Dual split | 1 to 1.5 days | €3,000 – €4,800 |
| Triple or quadruple split | 2 days | €4,500 – €8,500 |
| Ducted system, house or office floor | 3 to 5 days | €8,000 – €18,000 |
These ranges assume branded equipment, full installation and commissioning included, excluding major electrical work and any suspended ceiling reinstatement. The VAT rate applicable to air-to-air heat pumps in homes completed more than two years ago was reduced to 5.5% in 2026; the detailed conditions are set out in our report on financing an air-to-air heat pump.
Before you sign, read it through line by line: we've listed the 12 points to check on an air conditioning quote.
In summary
A successful installation comes down to three moments: a site survey that genuinely settles where the units go, a vacuum pull-down done properly, and a complete handover of paperwork. Everything else — the drilling, the trunking, the wiring — is standard work that any trained team can handle.
If your project is still at the planning stage, the quickest way to find out what's feasible in your home remains an on-site survey. You can book an appointment online or check our service areas across the Île-de-France region to confirm that your town is covered.
Need an air conditioning solution?